|
PieceWorx Writing Studio v2.0 | www.PieceWorx.com |
Matte
The Matte is the area in the center frame behind the pages.
The matte provides a container for the pages and serves as the background
of the center frame.
The matte can have a different color or background image based on the current theme so as to suit your preferences or the mood of the piece you are currently writing. However, the color and image can also be customized independent of the current theme.
The matte can have a different color or background image based on the current theme so as to suit your preferences or the mood of the piece you are currently writing. However, the color and image can also be customized independent of the current theme.
Customizing the Matte Background
| Hotkey | Alt+B |
| Right-click menu | Customize Background |
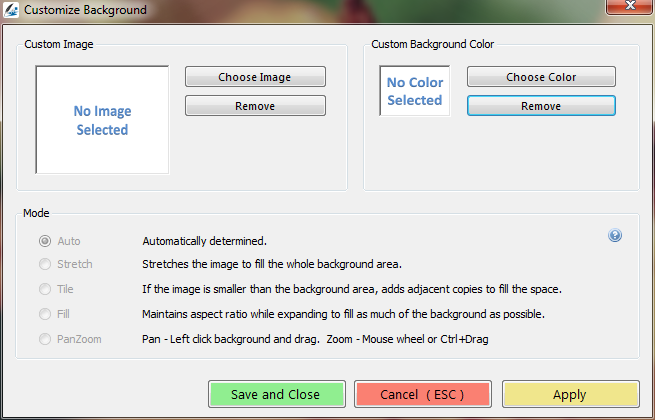
To customize the matte background, open the background customization dialog window using Alt+B or Right-click->Customize Background.
Background Layers
In order to better understand how background settings get applied, it is helpful to understand background layering. Background layering refers to the priority of different background settings.If a background color is defined in the current theme and you also define a custom background color and a custom background image using the Customize Background dialog, which color or image takes precedence? And if an image does not cover the entire background, what is visible behind the image?
The following list indicates the layer priorities, or order of precedence, for the different background settings:
- Custom background image - always the closest layer, the highest priority, if an image is selected
- Custom background color - completely covers the theme layers, if a color is selected
- Theme background image
- Theme background color - always the farthest layer
Customizing the background color
If you choose a custom background color it will override any settings from the theme.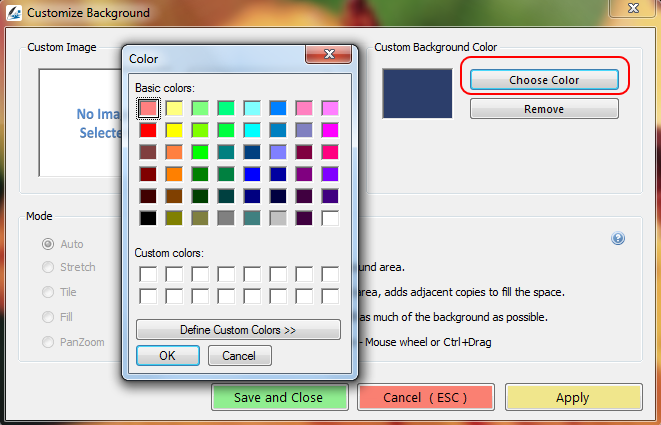
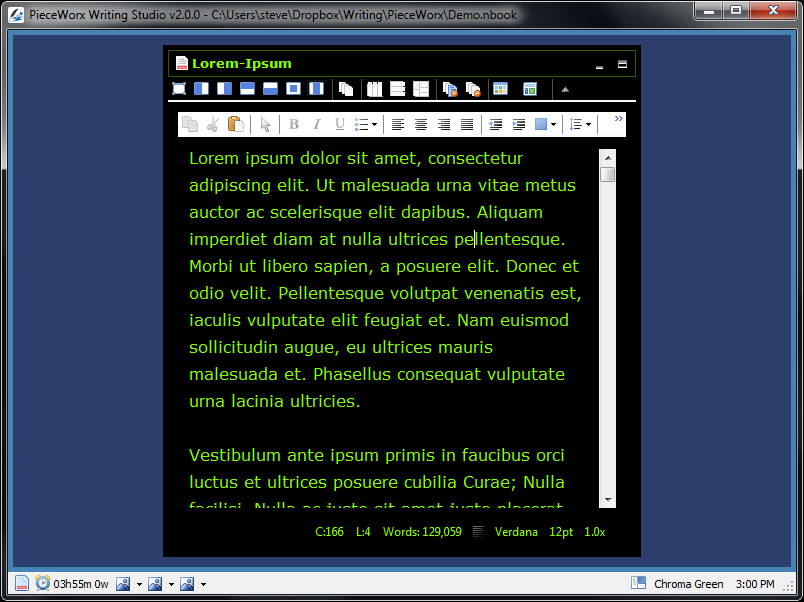
In the following screen captures, I set the background color to blue. The background
remains blue regardless of the current theme.
The following screen shows the Alabaster theme with a custom blue background.
The following screen shows the Alabaster theme with a custom blue background.
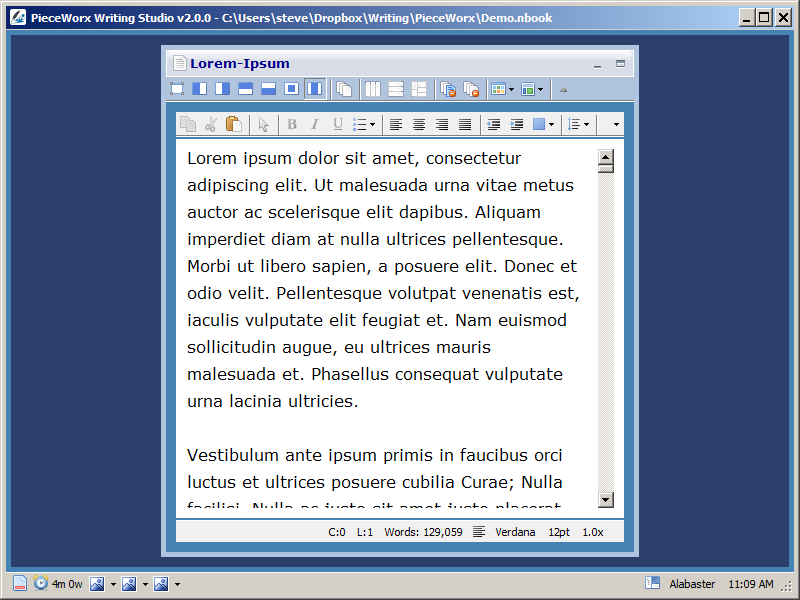
The following screen capture shows the Console theme with a blue custom background.
If your eyes are like mine, the following blue background appears to be a lighter
blue than the one above. But I assure you, it is only an optical illusion. The background
blue is the same.
Because of the layer priorities, if you set a custom background color it will always
hide any background settings from the current theme.
Customizing the background image
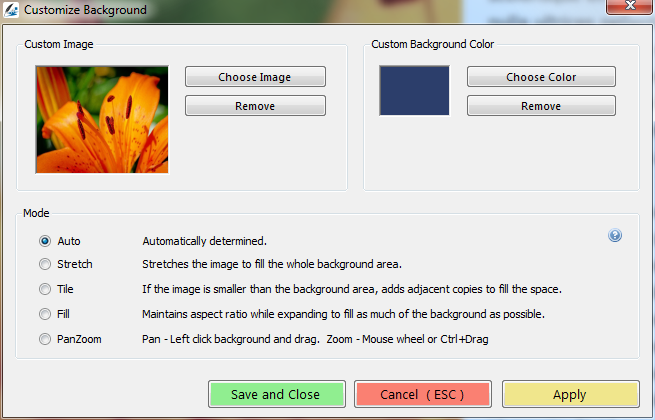
Click the Choose Image button to select a file from your computer to display in the background of PieceWorx Writing Studio. In the following screen capture I have chosen a photograph of an orange lily. A thumbnail preview is displayed beside the button.Below the Custom Image group box at the bottom of the window is the Mode group box. You can see that there are four mode options which govern how the background image will be displayed.
When you select your background image the program will automatically choose a mode based on the resolution and/or orientation of your image. If you want a different mode you will need to select it. The modes are:
- Stretch - Stretches the image to fill the whole background area.
- Tile - If the image is smaller than the background area, adds adjacent copies to fill the space
- Fill - Maintains the original aspect ratio of the image while expanding to fill as much of the background as possible.
- PanZoom - Allows you to move and resize your image on the background surface.
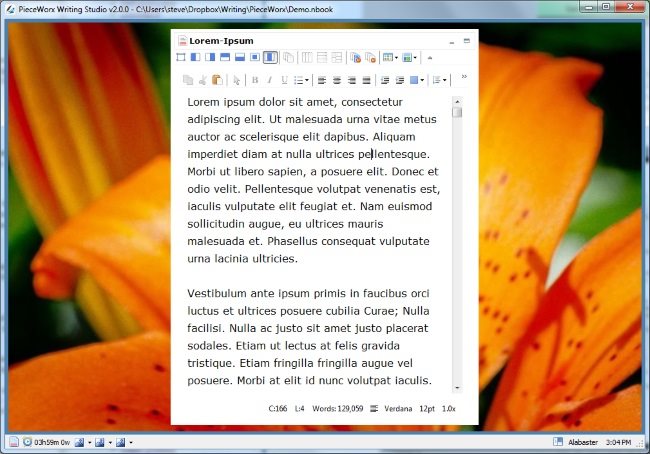
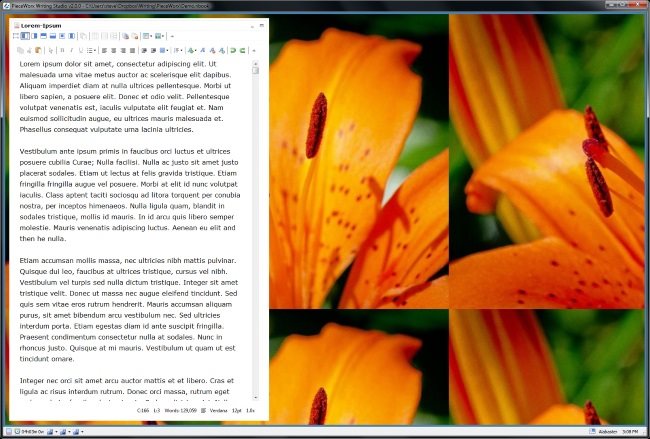
Stretch Mode
The following screen capture displays the background image in stretch mode. No matter what the size or shape of the editor frame, the background image will expand in the vertical and horizontal directions to fill the space. Stretching can result in the distortion of the image and may ruin the aesthetic value of some images. In the case of the orange lily, however, it looks nice regardless of how it is stretched because it's a magic lily.
The following screen capture displays the background image in stretch mode. No matter what the size or shape of the editor frame, the background image will expand in the vertical and horizontal directions to fill the space. Stretching can result in the distortion of the image and may ruin the aesthetic value of some images. In the case of the orange lily, however, it looks nice regardless of how it is stretched because it's a magic lily.
Tile Mode
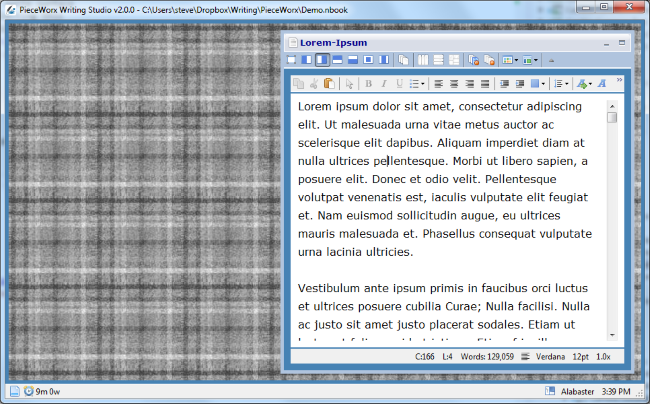
Tile mode is best used with low resolution images or pattern images designed to serve as repeating backgrounds. Note that if the resolution of the image is quite high, then the tile effect may not be visible because the first tiled image fills the entire background. The size of the tile is based on the pixel resolution of the image you select for your custom background image.
Tile mode is best used with low resolution images or pattern images designed to serve as repeating backgrounds. Note that if the resolution of the image is quite high, then the tile effect may not be visible because the first tiled image fills the entire background. The size of the tile is based on the pixel resolution of the image you select for your custom background image.
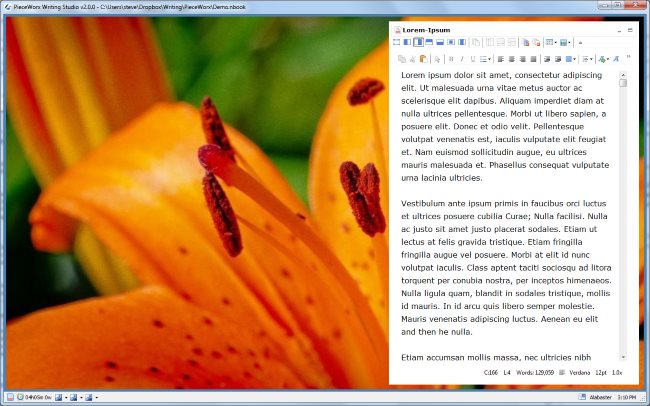
Fill Mode
Fill mode is used when you want to fill the entire matte background and you want to preserve the aspect ratio of your background image. As a result of these constraints, unless the background exactly matches the dimension of the image, a portion of the image will be hidden from view. Whether the truncated portion is the top/bottom or left/right depends on how the shape of the image compares to the shape of the matte background.
If you click the left mouse button on the background image and drag, you will see that you can reposition the image to display a portion of the image that was hidden. You are limited in how much you can shift the image because Fill mode still requires that the entire background area be filled by the image. You will probably need to try this out for yourself. Just set the image to Fill mode, then left-click on the image and drag.
| Mouse | Left click, hold and drag to reposition background image |
Fill mode is used when you want to fill the entire matte background and you want to preserve the aspect ratio of your background image. As a result of these constraints, unless the background exactly matches the dimension of the image, a portion of the image will be hidden from view. Whether the truncated portion is the top/bottom or left/right depends on how the shape of the image compares to the shape of the matte background.
If you click the left mouse button on the background image and drag, you will see that you can reposition the image to display a portion of the image that was hidden. You are limited in how much you can shift the image because Fill mode still requires that the entire background area be filled by the image. You will probably need to try this out for yourself. Just set the image to Fill mode, then left-click on the image and drag.
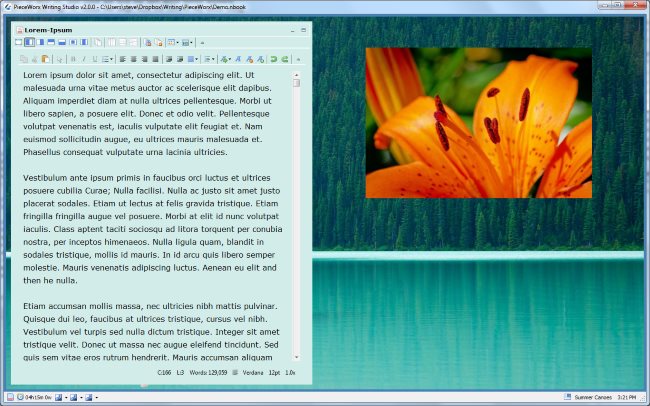
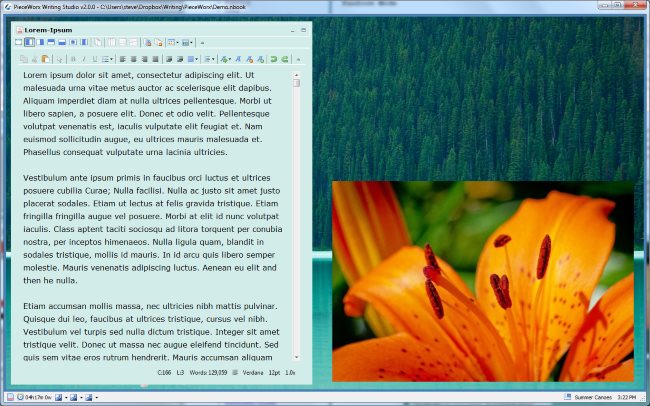
PanZoom Mode
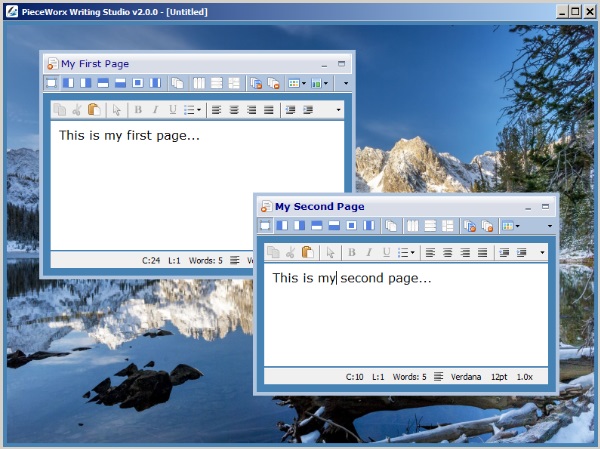
PanZoom Mode is the most versatile of all modes. It allows you to resize your background image and position it anywhere on the matte. In the first of the following two screen captures, I made the image small and positioned it toward the top right of the editor window. In the second capture, I enlarged the image a bit and positioned it near the bottom right of the editor window.
To pan the image, or move it, just click and hold the left mouse button anywhere on the matte surface and drag. To resize the image hold the control key while using the mouse wheel. Or if you don't have a mouse wheel, hold down the Ctrl key, then click the left mouse button anywhere in the matte area and drag. Dragging up or to the right increases the image size. Dragging down or to the left decreases the image size.
NOTE: If the custom background image ends up behind a page frame, you can move the page frame out of the way or you can hide the page frame so you have a clear view of the entire matte area and can access your background image. Also dragging anywhere on your matte background will move the background image, so dragging on a clear section of the matte could bring the background image into view. Experiment a little and it will all make perfect sense.
| Mouse | Left click on matte, hold and drag to move (pan) background image |
| Mouse | Ctrl+Mouse-wheel to zoom (resize) image |
| Mouse | Ctrl+Left-click-hold on matte, then drag to zoom (resize) image. (For those who don't have a mouse wheel.) |
| Hotkey | There are no hotkeys to pan/zoom the custom background image |
| Right-click menu | The are no menu items for controlling pan/zoom |
PanZoom Mode is the most versatile of all modes. It allows you to resize your background image and position it anywhere on the matte. In the first of the following two screen captures, I made the image small and positioned it toward the top right of the editor window. In the second capture, I enlarged the image a bit and positioned it near the bottom right of the editor window.
To pan the image, or move it, just click and hold the left mouse button anywhere on the matte surface and drag. To resize the image hold the control key while using the mouse wheel. Or if you don't have a mouse wheel, hold down the Ctrl key, then click the left mouse button anywhere in the matte area and drag. Dragging up or to the right increases the image size. Dragging down or to the left decreases the image size.
NOTE: If the custom background image ends up behind a page frame, you can move the page frame out of the way or you can hide the page frame so you have a clear view of the entire matte area and can access your background image. Also dragging anywhere on your matte background will move the background image, so dragging on a clear section of the matte could bring the background image into view. Experiment a little and it will all make perfect sense.
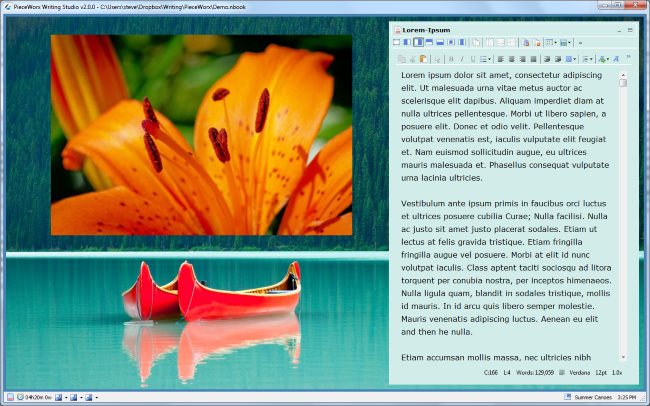
Or if you prefer your editor window on the right with the image on the left, click the right dock
icon ( ) in the page toolbar or type Alt+Right to fiddle the page positioning modes until
the page is docked to the right side of the screen. Then left-click and hold
on the matte area and drag toward the left to bring the image into view. Pan/zoom
as desired.
) in the page toolbar or type Alt+Right to fiddle the page positioning modes until
the page is docked to the right side of the screen. Then left-click and hold
on the matte area and drag toward the left to bring the image into view. Pan/zoom
as desired.
) in the page toolbar or type Alt+Right to fiddle the page positioning modes until
the page is docked to the right side of the screen. Then left-click and hold
on the matte area and drag toward the left to bring the image into view. Pan/zoom
as desired.
Other Ways to Quickly Add a Custom Background Image
In addition to using the Background Customization dialog window there are two other ways to add a custom background image to the matte surface.Drag a New Background Image
You can simply drag an image from your Windows file system onto the matte surface. This will automatically replace any existing custom background image.You can still manage, modify or remove your background image using the dialog window.
Copy/Paste a New Background Image
If an image is in your Windows clipboard, then a right-click on the matte surface will reveal a menu option named Paste Background Image. Selecting this menu option will insert the new custom background image. This technique provides a convenient way to copy images from another program via Ctrl+C or Right-click->Copy for use as a custom background rather than having to save the image as a file and then drag it onto the matte surface.
After pasting my new custom background...the program automatically determined that
it was a small resolution image and chose the tile mode. Perfect. For the following screen capture
I used a small repeating background from bgrepeat.com where you can find many more to suit your taste.