Images in the Editor
|
Hotkey
|
Ctrl+R
|
|
Right-click menu
|
Insert Image
|
|
Mouse
|
Drag an image file from Windows onto the editor surface
|
Inserting Images
Images can be inserted into your page content a few different ways.
- You can drag the image file from Windows onto the editor surface.
- You can copy an image from another program using Ctrl+C and then paste it
into the editor of PieceWorx Writing Studio using Ctrl+V.
- Or finally you can use the Insert Image feature in PieceWorx Writing Studio. Right-click
the editor surface and select Insert Image or type the hotkey, Ctrl+R.
This opens a file chooser dialog. Navigate to your image, select it, then click
OK. The image is inserted into your document.
Resizing Images
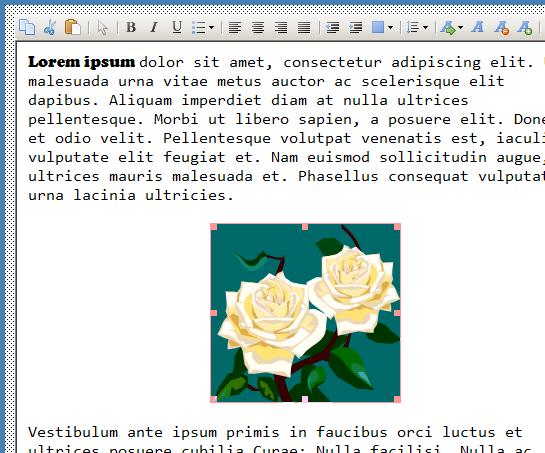
You can resize an image in the editor window by first left-clicking on the image.
You will notice little squares appear at the four corners and in the middle of each
side. Left-click on one of the small squares and drag. Release the mouse button
to finalize the size change.
NOTE: Sometimes resizing images in the editor window causes the display quality
of the image to degrade. This is only a display issue. If you view the
image in the print preview or on the printed page, the full quality is still intact.
Printing of Images
In general, if you want high print quality, an image should have 250-300 pixels
per inch (dpi).
For example, if you have a a jpeg image whose dimensions are 800x600 pixels, then
that image would have good quality if it is no more than about 3 inches (7.5 cm)
wide on the printed page.
You may need to take this into account when adding images to your content. The image
will be added to your page and sized based on the pixel resolution of your screen,
so if print quality is important for your project, then you will likely need to
shrink the image after it is added to your page content in the editor.
That 800x600 pixel image would need to be shrunk to about half the width of a printed
page to have high print quality. However, you should test for your situation. Different
images, image quality and image content may appear different depending on your usage
scenario.
