Bumpers
The working area within the main window of PieceWorx Writing Studio has three bumpers:
- Top Bumper
- Left Bumper
- Bottom Bumper
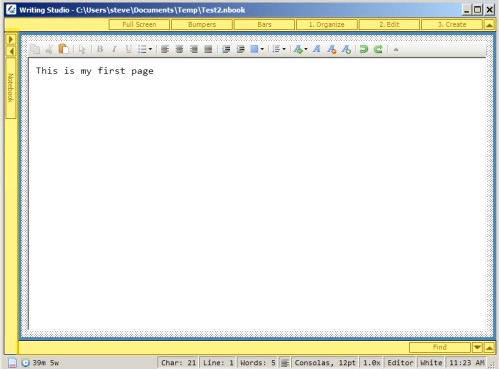
The thin yellow regions in the screen capture below show when all three bumpers
are visible.
Top Bumper
Hide the Top Bumper
Hiding and showing bumpers is similar for all three bumpers.
To hide the top bumper simply use the mouse to press the up arrow in the top bumper. There is no hotkey or menu item dedicated to only hiding the top bumper.
Show the Top Bumper
To show the top bumper slowly move your mouse cursor along the upper border of the
editor frame, you will see the top bumper appear. If you move the mouse away, the
top bumper will quickly hide itself again.
To lock the top bumper in place, click an empty region where there are no buttons.
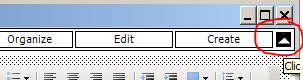
Top Bumper Buttons
The top bumper contains several buttons intended to make common layout actions easy
and accessible.

- Full Screen - enters full screen when clicked or exits full screen if currently
in full screen mode.
- Bumpers - toggles the visibility of the bumpers by first ensuring they are
all collapsed and showing, then alternately shows or hides all three bumpers.
- Bars - fiddles the visibility of the format and status bars
- Organize - applies the organize layout mode which ensures the Notebook tab
is visible.
- Edit - applies the edit layout mode which hides the left frame and shows
all bumpers and bars.
- Create - applies the create layout mode which hides everything except the
editor window.
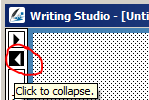
Left Bumper
Hide the Left Bumper
Hotkey:
Ctrl+Shift+Alt+Left
Hiding and showing bumpers is similar for all three bumpers.
To hide the left bumper simply use the mouse to press the left arrow in the left
bumper.
Show the Left Bumper
| Hotkey | Ctrl+Shift+Alt+Right |
Showing the left bumper when it and the left frame are completely hidden is similar
to what it is for the top bumper. Roll your mouse slowly over the left border of
the editor frame, you will see the left bumper appear. If you move the mouse away,
the left bumper will quickly hide itself again.
To lock the top bumper in place, click an empty region where there are no buttons.
If the left frame is expanded you can show the left bumper by collapsing the frame.
See the frame documentation for more on that.
You can also use the hotkeys
Ctrl+Shift+Alt+Right and
Ctrl+Shift+Alt+Left to hide
and show the left bumper.
Left Bumper Buttons
The buttons on the left frame represent the available tabs in the left frame when
the frame is expanded. The left bumper is truly the collapsed form of the left frame.
This is different than the top bumper which does not expand into a top frame.
Clicking a button in the left frame will expand the left frame and display the associated
tab.
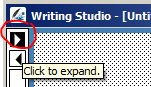
The right arrow in the left bumper will also expand the left frame.
Bottom Bumper
Hide the Bottom Bumper
| Hotkey | Ctrl+Shift+Alt+Down |
Hiding and showing bumpers is similar for all three bumpers.
To hide the bottom bumper simply use the mouse to press the down arrow in the left
bumper.
Show the Bottom Bumper
Showing the bottom bumper when it and the bottom frame are completely hidden is
similar to what it is for the other bumpers. Roll your mouse slowly over the bottom
border of the editor frame, you will see the bottom bumper appear. If you move the
mouse away, the bottom bumper will quickly hide itself again.
To lock the bottom bumper in place, click an empty region where there are no buttons.
If the bottom frame is expanded you can show the bottom bumper by collapsing the
frame. See the
frame documentation for more on that.
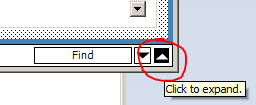
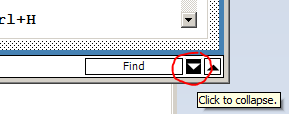
Bottom Bumper Buttons
The buttons on the bottom frame represent the available tabs in the bottom frame
when the frame is expanded. The bottom bumper is truly the collapsed form of the
bottom frame. This is different than the top bumper which does not expand into a
top frame.
Clicking a button in the bottom frame will expand the bottom frame and display the
associated tab.
The up arrow in the bottom bumper will also expand the frame.